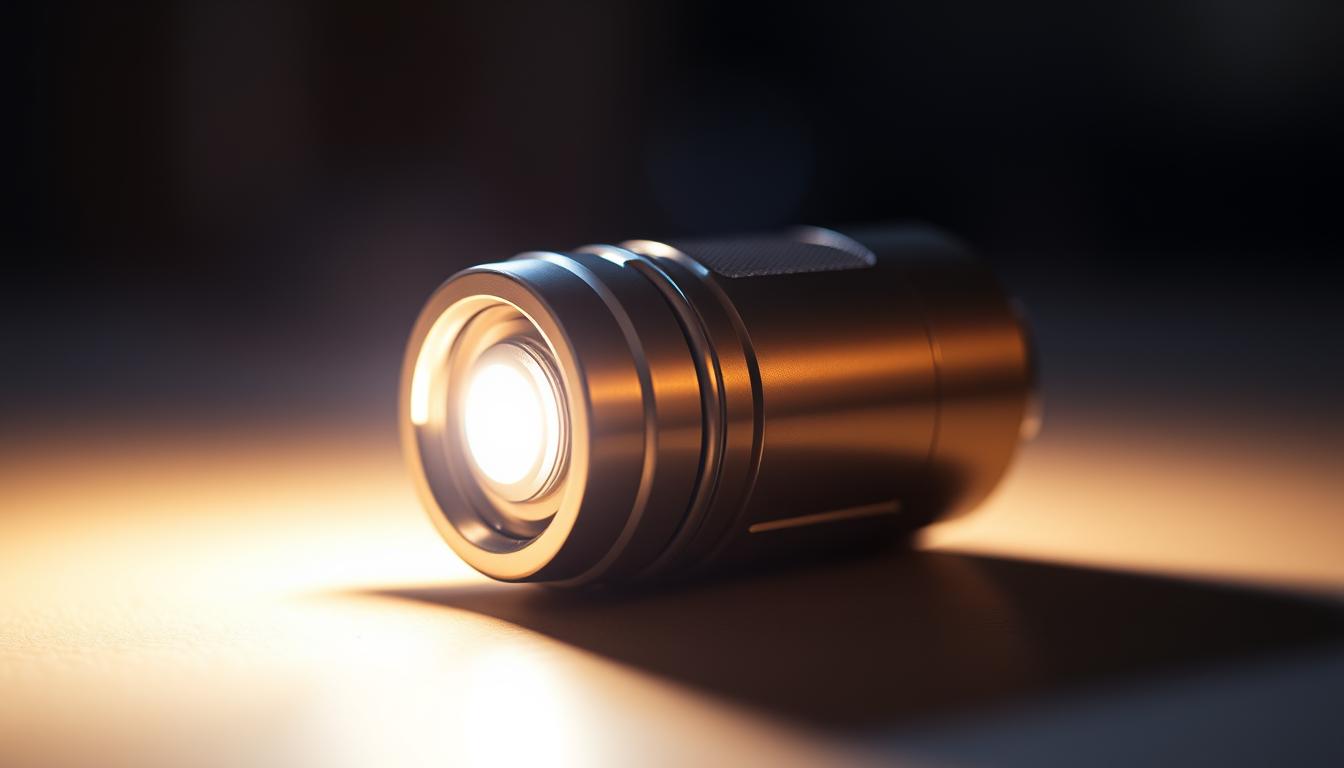
When it comes to home security, security lights with cameras offer a dual layer of protection, blending illumination with surveillance. If you’re looking to enhance your home’s security system, these devices are a smart investment. In this guide, we’ll explore why they’re essential, how to choose the right one, and how to set it up effectively.
Why Choose Security Lights with Cameras?
Security lights with cameras serve two main purposes: providing light and capturing footage. They are perfect for deterring potential intruders and ensuring you have a clear view of your property at all times.
Benefits include:
- Enhanced Visibility: Illuminate dark areas around your property.
- Deterrent Effect: Thieves are less likely to target a well-lit area with a camera.
- Real-Time Monitoring: Access live footage via smartphone apps.
Key Features to Consider
When selecting a security light with a camera, several features are worth considering:
1. Resolution and Image Quality
Higher resolution cameras offer clearer images. Look for a camera with at least 1080p HD resolution.
2. Motion Detection
Effective motion detection is crucial for capturing footage of any suspicious activity. Some models come with adjustable sensitivity settings to reduce false alarms.
3. Connectivity
Choose a security light with camera that supports Wi-Fi or Bluetooth connectivity for easy integration with your existing home networt.
4. Night Vision
Ensure the camera has good night vision capabilities to capture clear footage even in low light conditions. This feature is essential for 24/7 surveillance.
How to Install a Security Light with Camera
Installing a security light with camera might seem daunting, but with the right steps, it can be straightforward.
Step 1: Choose the Right Location
Select a location that covers entry points and dark areas around your property. Typically, areas near front doors, driveways, and backyards are ideal.
Step 2: Mount the Light
Follow the manufacturer’s instructions for mounting. Ensure it’s securely attached and at the optimal angle for both lighting and camera coverage.
Step 3: Connect to Your Network
Connect the camera to your Wi-Fi or Bluetooth network. This step usually involves using a smartphone app provided by the manufacturer.
Step 4: Adjust Settings
Configure the camera’s settings, including motion detection zones and sensitivity. Make sure the light’s brightness is set to a level that will effectively illuminate your property without causing glare.
Best Practices for Maximizing Effectiveness
To get the most out of your security light with camera, follow these tips:
- Regular Maintenance: Clean the camera lens and check the light bulbs regularly.
- Update Firmware: Keep the camera’s firmware up to date to benefit from the latest features and security patches.
- Test the System: Periodically test the camera and light to ensure they’re functioning correctly.
Conclusion
Investing in a security light with a camera is a proactive step towards safeguarding your home. By offering both lighting and surveillance, these devices help you keep an eye on your property while deterring potential threats. Follow the tips and steps outlined above to choose and install the perfect system for your needs.